DIY Water Distilling

DIY Water Distilling
A man cannot call himself peaceful if he is not capable of violence. If he's not capable of violence he isn't peaceful, he is harmless. There is a distinct difference.
Fate whispers to the warrior "You cannot weather this storm". The warrior replies, "I am the storm".
Fate whispers to the warrior "You cannot weather this storm". The warrior replies, "I am the storm".

Re: DIY Water Distilling
How about fitting a tube to the vent hole.... create you own little still!
but then I have one of these...
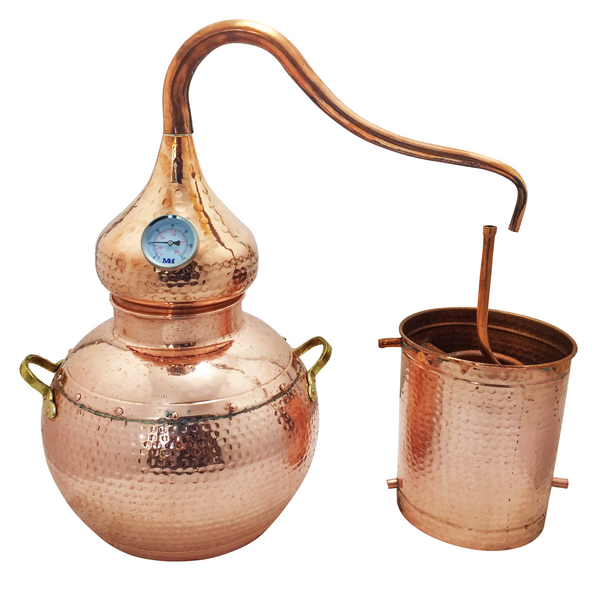
but then I have one of these...
You can't fix stupid !
Re: DIY Water Distilling
Simple solar still:
2 2 liter soda bottles
rigid plastic tubing
drill with bit
glue
1. you drill a hole of the same diameter through two plastic 2 liter bottle tops
2. you put a length of rigid plastic tubing through the two caps (that are facing opposite each other)
3. one part of the tube length will be short because it goes through the top of the lower 2 liter bottle cap. the portion going into an inverted upper 2 liter bottle will almost reach the bottom of the inverted bottle.
Now for the technical description:
Two liter, two bottle solar still.
You obtain two or more 2 liter soda pop bottles. If you are going to store the water, you need additional bottles beyond the still.
The still.
You are going to construct the two caps and the tubing first.
You drill the same size hole in two soda pop bottle tops. You have already obtain a length of rigid plastic or metal tubing that will be placed through the caps.
How long is the tubing? The part that is going to be screwed onto the lower bottle barely protrudes through the cap. The part that is going to be going into upper bottle will be long, almost reaching the top (upside down bottle, so you can use the word "bottom") of the upper bottle.
You can put glue on the outside off the caps around the tubing with the caps pressed against each other, and there will be no leakage.
When you put a bottle of contaminated water in the sun and leave it, the water will start to evaporate. So, the lower bottle is the contaminated bottle.
The upper bottle will received the purified water.
When the contaminated water is going to evaporate, you want to start with a gap between the level of the contaminated water and the end of the tube. Hint- the evaporation has to go in and upwards.
When the water evaporates, it goes up through the tube, hits the ceiling (bottom ) of the receiving container and turns back into water.
If you have a nearly filled upper bottle, this is what you do. You unscrew the cap from the lower, contaminated bottle. That cap has never touched the contaminated water, right? You then turn the clean water bottle upright, unscrew the cap and replace the tubed cap with a regular bottle cap or top. Now, you have a supply of drinking water.